How Arduino Works: Simply Explained
Simply Explained
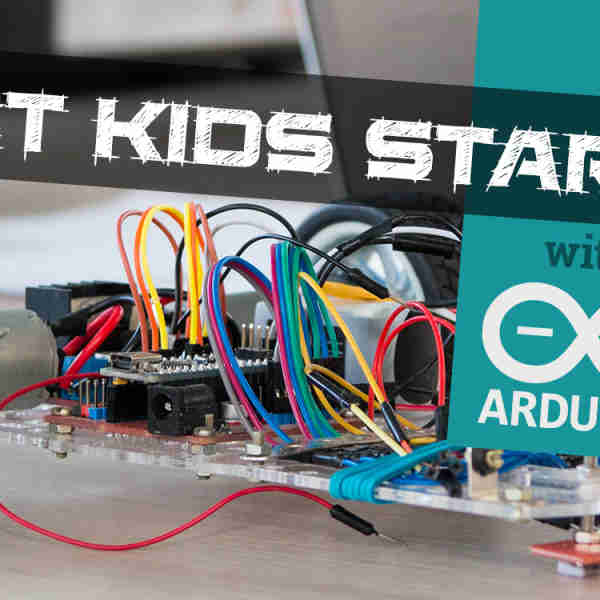
We create a lot of projects with Arduino, and it is a big part of STEM learning. We wrote this article for absolute beginners wondering how Arduino works.
You can also read our simple guide: What is Arduino. And, once you get some basic knowledge you should take a look at our beginner Arduino projects for kids.
Please note: This is a very simple overview of how Arduino works and is very simplified. For more in depth details, you might want to check out the Arduino site.
Related: Browse Our List of Awesome Arduino Shirts

Initial Setup
To begin, you initially need an Arduino board, and Arduino Software.
You write your own code in a specific format and you upload the code directly onto the Arduino board. You also connect your input and output devices and sensors. From that point onward, the Arduino board will run the code every time is starts up until it is turned off.
The Code for Arduino
Arduino code is written in C++ or C. There are thousands of tutorials to get you started, and a massive community to assist you with your project questions.
Here is some sample code for the Arduino:
// the setup function runs once when you press reset or power the board
void setup() {
  // initialize digital pin LED_BUILTIN as an output.
  pinMode(LED_BUILTIN, OUTPUT);
}
// the loop function runs over and over again forever
void loop() {
  digitalWrite(LED_BUILTIN, HIGH);   // turn the LED on (HIGH is the voltage level)
  delay(1000);                       // wait for a second
  digitalWrite(LED_BUILTIN, LOW);    // turn the LED off by making the voltage LOW
  delay(1000);                       // wait for a second
}
The code is usually broken up into two sections (as above). Setup, and Loop.
Setup
The setup section of the code is run once, when the board is first turned on or reset.
Loop
The loop is just that. Once the setup is complete, the loop runs over and over and over. It just keeps on running while the board is powered.
Outputs & Inputs
The Arduino board on its own, doesn't really do anything. You need to connect inputs and outputs to the board. These items send and receive signals to and from the board.
Inputs
An input, is something that sends data to the Arduino board. EG, a temperature Sensor. Basically, an input is when the Arduino receives a signal or data.
Outputs
An output, is something that receives data from the Arduino board. EG, an LED is an output. So is an electric motor. Basically, an output is when the Arduino sends out data or a signal.
Example of Arduino Working
Lets run through an example. Lets create a project that turns on an LED when a room gets dark.
Firstly, we get the Arduino board, and plug it into the computer. We now upload code to the program.
For this example, I am not going to write the code, but will explain the code so you understand the process.
The Code 'Setup' Section
In the code setup, all we need to do is tell the Arduino that there is a light sensor, and which pin we connected it to, and that there is an LED, and which pin it is connected to.
The Code 'Loop' Section
Remembering that the loop will just keep on running over and over, we just need the code to check the light sensor and get the amount of light in the room. If the light sensor reports that the light is low, wen set the LED to 'on'.
This code just runs over and over and over. It will keep checking the sensor to see how much light there is, and change the LED to on or off depending on the reported light amount.
Couple of things to keep in mind: The light sensor will report back a number value for the light in the room. This will depend on the sensor, but lets say it goes from 0 to 99. Then, you get to decide in the code what value you think 'Low Light' should be. You might decide 20 is low, so: If light value is below 20, turn LED on, or if light value is 20 or above, turn LED off.
Ready to Make Something?
That is our really simple version of how Arduino works. It can get far more complex than this, but this should have helped you understand the basics.
If you think your kids would benefit from Arduino, take a look at Our guide to getting kids started with Arduino
If you are interested in Arduino, and want to make a project, I suggest you take a look at their website and join the Arduino community. Have fun!
Read Next

What is Arduino: Simply Explained
Heard of Arduino, but not sure what it is? Here is our simple explanation of Arduino.